Social Login: Role-Based Redirection & Registration Rules
Overview
This document provides detailed instructions on configuring Ultimate Member Social Login to manage user roles effectively. It explains how to ensure that users registering through different methods—manual versus social login—follow the appropriate approval and redirection processes while ultimately receiving the same Member role. The key features include the implementation of role redirection options and different login/registration rules. These features ensure that users are directed to role-specific pages after login and that each registration method follows its own approval process.
1. Implementing Role Redirection Options
By default, when a user logs in using the Social Login shortcode, they are redirected back to the page where the shortcode is placed. Enabling the Role Redirection Options changes this behavior, allowing users to be redirected to pages defined in their Assigned User Role settings. For example, a user with the Member role may be redirected to /member-dashboard-2/ upon login.
Steps to Enable Role Redirection:
- Access Social Login Settings:
Navigate towp-admin > Ultimate Member > Social Loginand add or edit an existing Social Login shortcode.
- Enable Role Redirection Options:
Within the General Settings section, check the option labeled Implement Role Redirection Options. This setting applies the custom registration or login configurations defined in the Assigned User Role settings.
- Save Changes:Click the Create or Update button to save your settings.

- Configure Role-Specific Redirection:
Go towp-admin > Ultimate Member > User Rolesand add or edit the Member role.
- Under the Registration Options or Login Options tab, set the action after registration or login to "Redirect to URL" or "Show custom message" and enter the desired redirection URL (for example,
https://calum-33004-6444074.umsites.net/member-dashboard-2/).
- Save the updated role settings.


Test Redirection
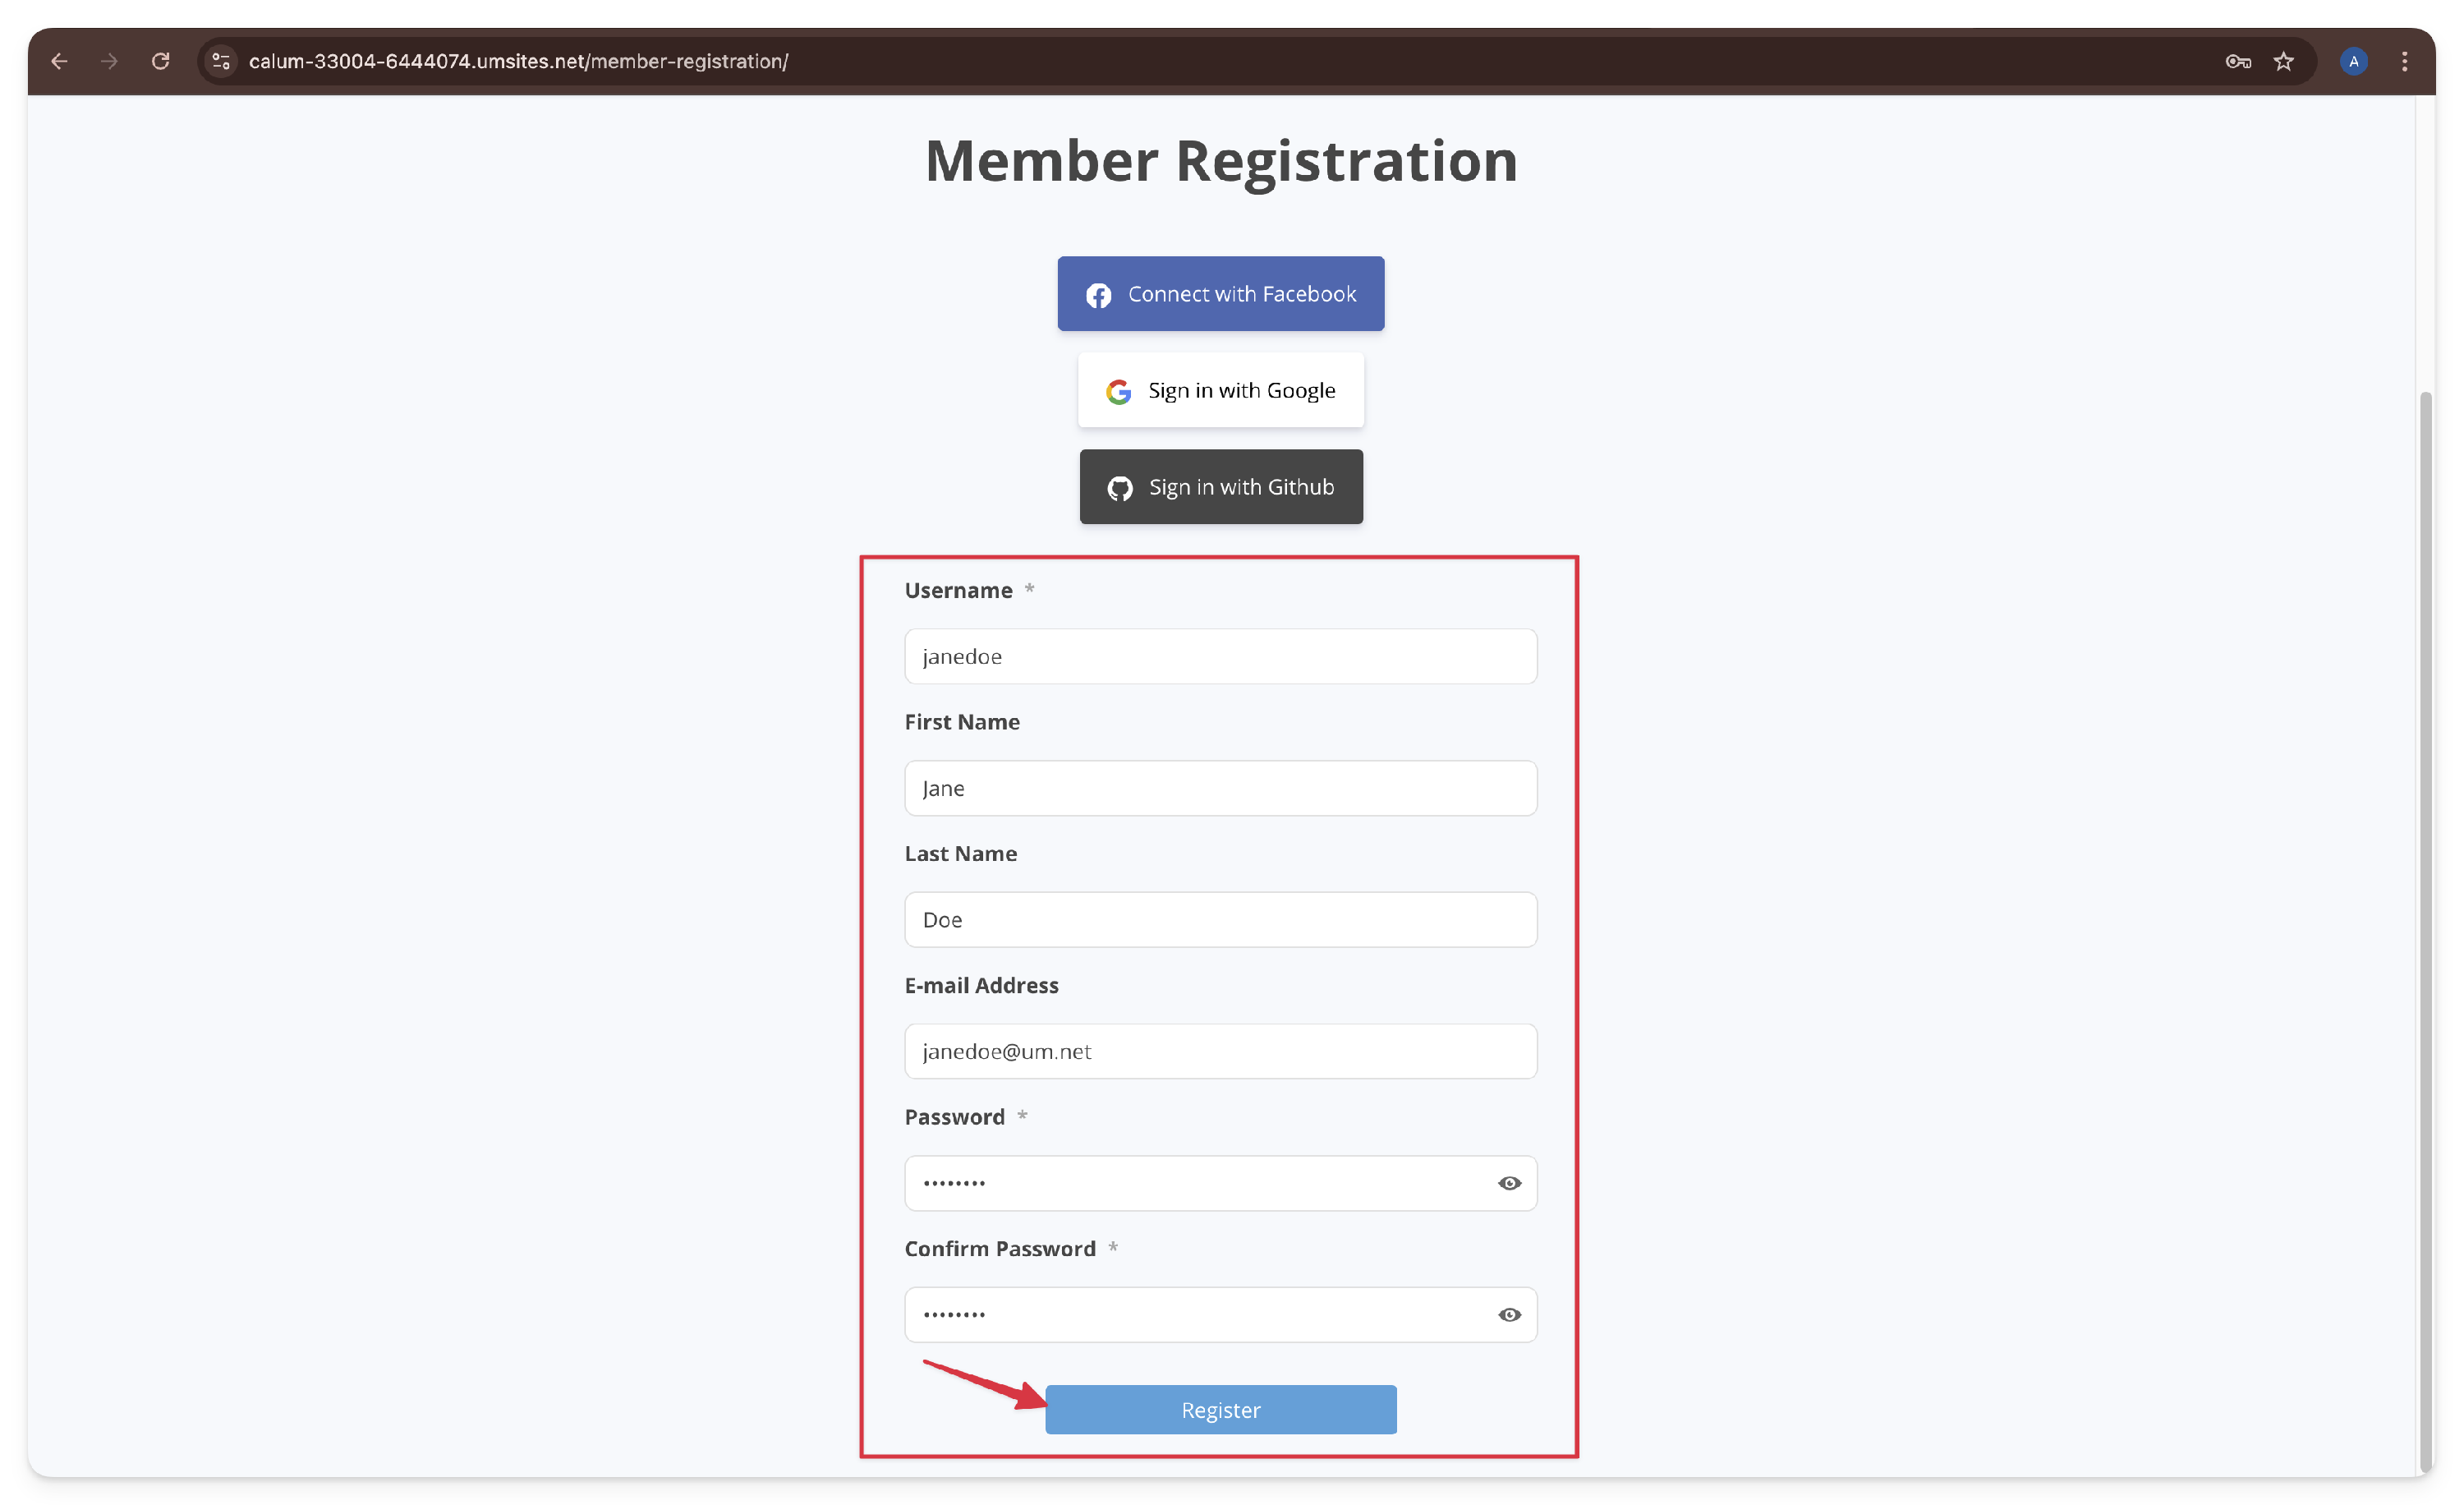
1. Add the Social Login Shortcode to a Page
Begin by creating or editing a page where you want to implement social login:
- Go to wp-admin > Ultimate Member > Social Login> Edit the Social Login you've created earlier.


- On the right-hand side, locate the Shortcode section and copy the shortcode.

- In your WordPress dashboard, navigate to Pages and click Add New (or edit an existing page).

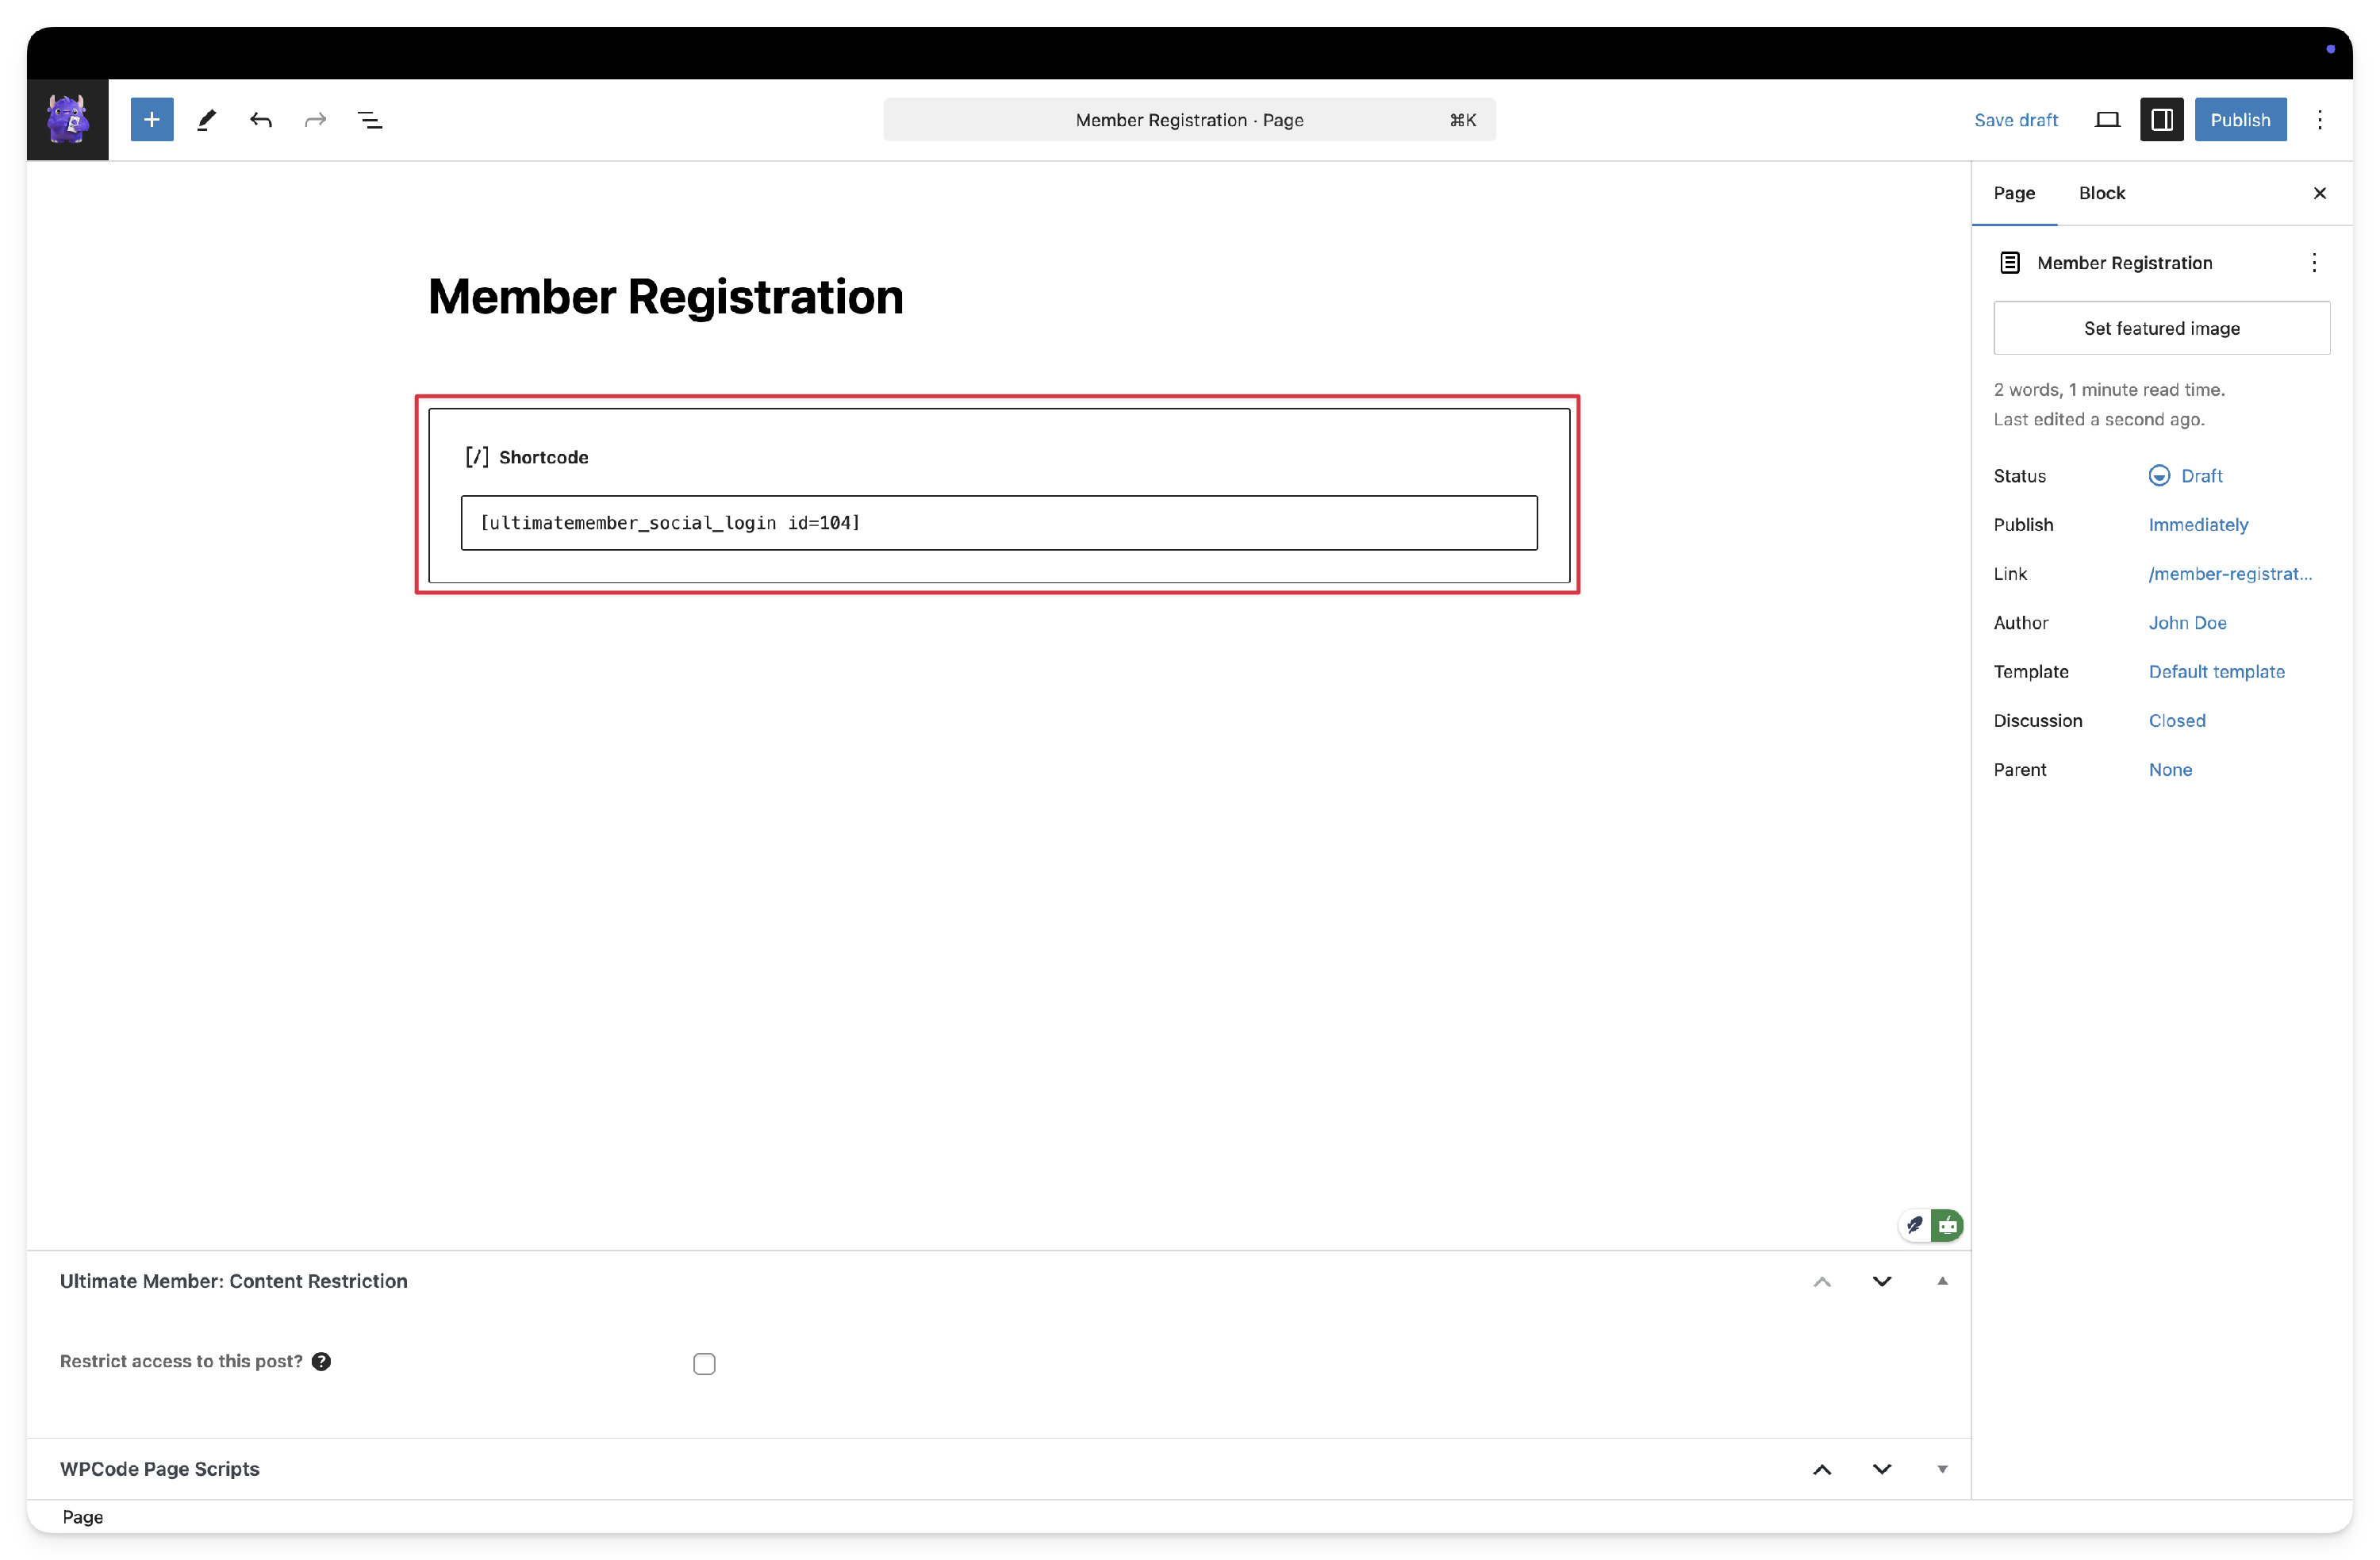
- Insert the Social Login shortcode into the page content. See the image below for an example:
- Save or publish the page.


2. Test Registration Using Social Login
With the shortcode in place, follow these steps to verify that redirection works as expected:
- Access the Page:
Open the page where you added the shortcode in your browser. - Initiate Social Login:
Click on one of the available social login buttons (e.g., Facebook, Google).
- Complete Registration:
Follow the social login flow to register. - Verify Redirection:
After completing the registration, observe the redirection. The user should be directed to the URL specified in the role redirection settings (for example,https://calum-33004-6444074.umsites.net/member-dashboard-2/).

2. Implementing Different Role Login/Registration Rules
Ultimate Member typically applies the primary role’s settings for both login and registration. This can create conflicts when different registration methods require distinct approval processes. By enabling the Implement Different Role Login/Registration Rules option, you can enforce specific approval rules based on the registration method while still assigning the same Member role.
Example Scenario:
- Manual Registration:
A user registers using the standard form, is assigned the Member role, and requires email activation before approval. - Social Login:
A user registers via a social network (e.g., Facebook, Google), is auto-approved, and is still assigned the Member role. This is achieved by applying a separate set of rules through the SSO Role.
Configuring the User Role Settings
For Manual Registration (Requires Email Activation):
- Navigate to
wp-admin > Ultimate Member > User Rolesand edit the Member role. - In the Registration Options tab, set the Registration Status to Require Email Activation. Configure the action after registration (for example, display a custom message) and, optionally, specify a redirection URL.

- Save your changes.
For Social Login (Auto-Approved):
- Create a new role for social logins by navigating to
wp-admin > Ultimate Member > User Rolesand clicking Add New Role.
- Name this role SSO Role.This SSO Role is used solely to override approval rules for social logins and should not be manually selectable by users.

- In the Registration Options, enable auto-approval by setting the Registration Status to Auto Approve. Also, select the appropriate action to be taken after registration.

- Save the new role.


Configuring the Social Login Settings
- Access Social Login Settings:
Go towp-admin > Ultimate Member > Social Login.
- Set the Assigned Role:
In the General Settings section, set Assign Role to Member. This ensures that every new user, regardless of the registration method, is assigned the Member role for content access - Enable Key Options:
Enable both Implement Role Redirection Options and Implement Different Role Login/Registration Rules. - Select the Role for Login/Registration Rules:
Under Select a Role to Implement Login/Registration Rules, choose SSO Role. This setting ensures that when a user registers via social login, the auto-approval rules defined in the SSO Role are applied, even though the user ultimately receives the Member role.
- Save Changes:Click Save Changes to complete the configuration.


3. Implementing the New Shortcode Options
Before proceeding, ensure you have the latest versions of Ultimate Member and Social Login installed.
- Configuring the Social Login Settings:
- Follow the steps above, verify that the following options are enabled:
- Implement Role Redirection Options
- Implement Different Role Login/Registration Rules
- Also, confirm that Assign Role is set to Member.
- Copy the Social Login Shortcode.
- Follow the steps above, verify that the following options are enabled:
- Place the Social Login Shortcode on a Page:
Go towp-admin > Pages, add a new page or edit the desired page, and paste the Social Login shortcode into the page content. Click Save or Publish.

Test the Implementation:
For manual registration
- Register a new user manually and check if the user is redirected to the set action after registration.
- Then verify if the user is assigned the Member role and requires email activation in wp-admin> Users.


 For social login
 For social login
- Register via a social network and confirm that the user is auto-approved based on the SSO Role settings, yet still receives the Member role.

- Review role assignments in wp-admin > Users to ensure proper configuration.

How It Works After Setup
After configuration, the registration process operates as follows:
A user registering manually receives the Member role and must complete email activation before being fully approved. Conversely, a user registering via social login is auto-approved through the SSO Role settings and assigned the Member role. Depending on the registration method, the user is redirected to the appropriate page—for example, an email verification page for manual registrations and the member dashboard for social logins.
Final Notes
This configuration provides flexibility by allowing distinct registration flows while ensuring a consistent user experience. The SSO Role is used exclusively for handling auto-approval in social logins and should not be manually assigned. It is essential to test the configuration thoroughly to ensure that redirection and approval behaviors function as intended across all registration methods.
By following these instructions, Ultimate Member Social Login will offer a seamless onboarding experience that differentiates the approval processes for manual and social registrations while maintaining unified access through the Member role.